Waterline eyeliner is one of those high-impact makeup tricks that transforms a look in seconds. It can make your lashes look fuller, your eyes more defined, and your entire face instantly more polished. But while many beauty lovers admire the look, few feel confident applying it and fewer still know how to make it last without irritating their eyes.
If you’re wondering how to apply eyeliner to your waterline like a pro, the secret lies in choosing the right formula, prepping with care, and understanding how color and technique work with your unique eye shape. Here’s how makeup artists make it look easy and how you can, too.
How to Apply Waterline Eyeliner Like a Pro
The waterline is the delicate strip between your eye and lower lashes, a spot that, when lined with skill, can add subtle definition or bold drama to any makeup look. But because it’s close to the eyeball and constantly exposed to moisture, applying eyeliner here takes more finesse than your standard lash line.
Step 1: Start With the Right Product
Not all eyeliners are made for waterline use. Look for a soft, waterproof pencil with a creamy texture that glides without tugging. Avoid glittery formulas or anything too dry or waxy these can irritate or crumble. While many brands market “waterline-safe” liners, what truly matters is smooth application and long-lasting pigment.
Step 2: Choose a Color That Complements Your Goal
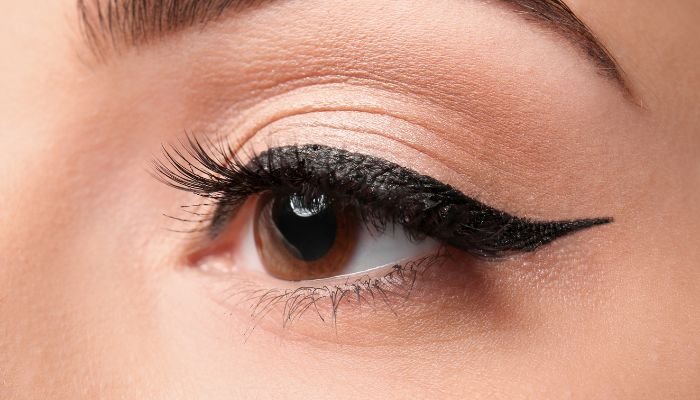
Darker shades like black or espresso brown on the upper and lower waterlines can make the eyes appear smaller, great for a sultry or smoky look. If you want your eyes to look bigger or more awake, try white, beige, or pale pink on the lower waterline. Want to highlight your eye color? A soft green for hazel eyes or a navy blue for brown eyes can add subtle contrast without going over the top.
Step 3: Sanitize and Prep Your Pencil
Always sharpen your eyeliner pencil before applying it to the waterline. Then give it a quick spritz of rubbing alcohol and let it dry for a few seconds. This minimizes bacteria transfer and makes for a smoother application. Curling your lashes before you begin helps you access the waterline more easily, and dabbing the area gently with a tissue or cotton swab helps the pigment stick.
Step 4: Apply With a Steady Hand
Use your ring finger, the gentlest of your fingers, to lift the lid slightly and expose the waterline. Then gently run the pencil back and forth across the lash roots. There’s no need to press hard. You’re not drawing a bold line; you’re tracing what already exists. If needed, go over the area once more after the first layer sets.
Step 5: Give It a Moment
Let the liner settle for 30–60 seconds before blinking too much or layering additional product. If you make a mistake, a micellar-water-dipped cotton swab can clean up smudges without disturbing your base makeup.
Step 6: Layer With Intention (Optional)
Once you’ve nailed your waterline, you can build out your eye look with shadow or mascara. Some artists suggest applying waterline liner first to avoid messing up your shadow others wait until the end to tie the whole look together. Whichever you choose, the key is to keep pressure light and avoid tugging, especially on the lower lash line.
Whether you’re going for a subtle lift or a bold statement, waterline eyeliner can completely change how your eyes look and how confident you feel. It’s one of those details that elevates your makeup without needing extra effort, once you know the method.
Don’t overthink it. The best way to get good is to experiment, adjust based on your eye shape, and find the combination that makes you feel like the most radiant version of you. Your perfect look? It starts with a single, confident line.